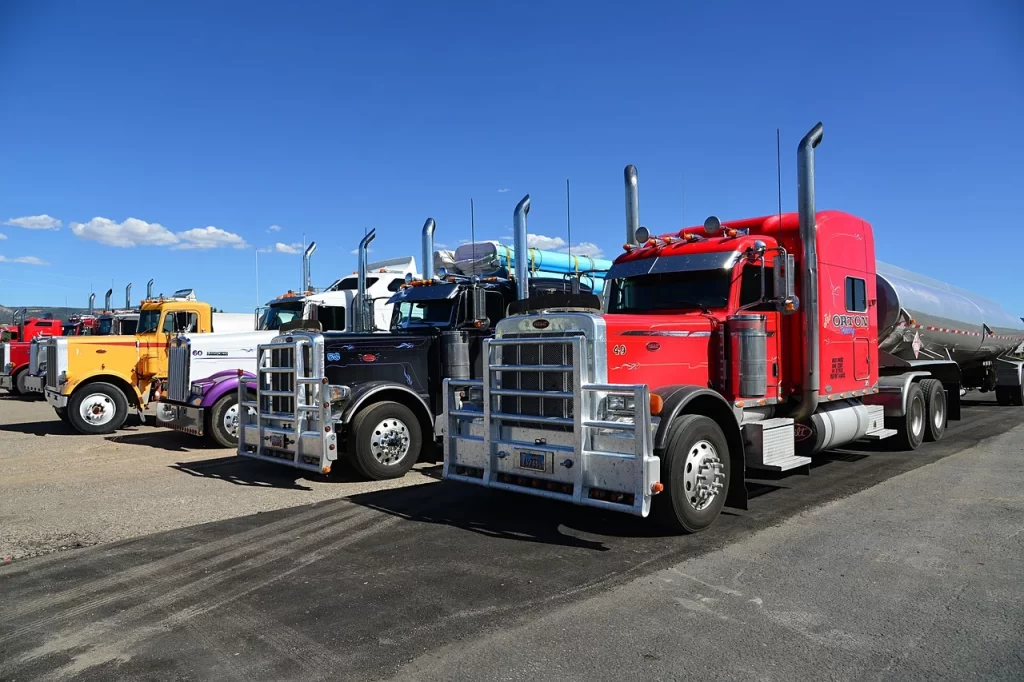
Clear parking lines are an important feature of a well-managed truck parking lot, although they are quite often neglected and overlooked. Correctly laid parking lines ensure safety and organization, making it easier for truckers to park and navigate. Without clean lines, your parking lot may look shabby (at best) or completely haphazard and even dangerous (at worst).
Regular maintenance, including the task of parking lot striping, is a basic prerequisite of any truck parking business. Those lines must be visible and effective. Without proper markings, lots can become chaotic and dangerous, leading to accidents and frustration.
This guide will cover everything you need to know about parking striping, from DIY tips to when it’s best to hire a professional. Getting to grips with how to strip a parking lot will help you maintain a functional and safe space for trucks, and if you adhere to these tips, you will have a much more efficiently organized parking system in your lot.
Why Truck Parking Striping Matters
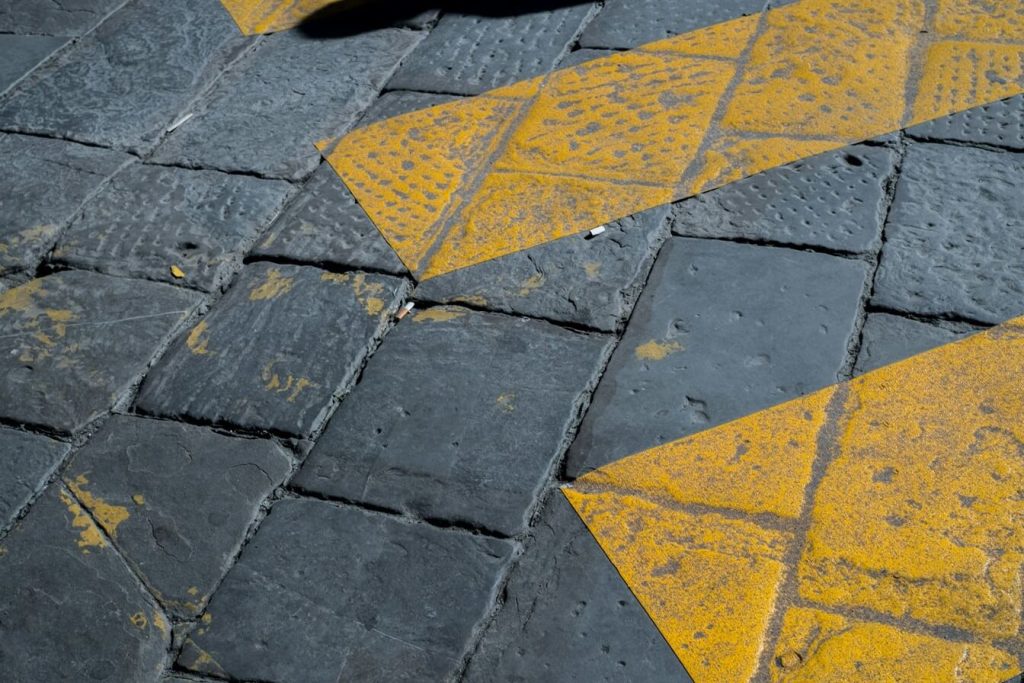
Despite common belief, clear striping in truck parking lots is more than just a visual aid – it also helps direct traffic flow and reduce accidents. Trucks require wider spaces and clear directional arrows to navigate safely. Proper striping ensures that each truck has enough room, minimizing the risk of collisions and damage. Additionally, faded lines can lead to confusion and inefficient use of space.
Regular parking lot striping helps maintain order and maximizes the available parking area. For truck parking lots, this is even more important due to the larger vehicles and higher traffic. To that end, ensuring that lines are clearly visible and correctly positioned is fundamental to keeping the truck parking lot business functional and safe.
DIY Striping vs. Hiring a Professional
When it comes to parking lot striping, you have two main options to consider: doing it yourself or hiring a professional. DIY striping can be cost-effective if you have a smaller lot and some time on your hands, but you will need the right tools, such as a line striping machine and high-quality paint.
However, there’s a learning curve, and mistakes can lead to uneven lines and wasted materials. In theory, the premise of striping doesn’t sound overly challenging, but in reality, it can be a little tricky.
By the same token, hiring a professional offers several advantages. Professionals obviously have the experience and equipment to complete the job quickly and accurately, while they can also handle larger lots and ensure compliance with local regulations.
While it might be more expensive upfront, professional striping often saves time and reduces long-term maintenance costs. For large truck parking lots, the benefits of professional expertise usually outweigh the initial investment.
How to Strip a Parking Lot
Should you tackle the project yourself, the following procedures will help you successfully complete parking lot striping.
Step 1: Decide on Parking Lot Markings
Any truck parking lot must have clear and precise markings, including parking lines, directional arrows, crosswalks, and reserved spots.
For truck parking, spaces need to be wider to accommodate larger vehicles and designated loading zones should be marked with large Xs or angled lines. Remember handicap stalls and fire lanes, which must comply with local regulations.
The cost of these markings can vary. Directional arrows might cost $15-$20 each, while handicap stalls can range from $50-$75, so plan your budget accordingly. Your truck parking lot insurance may cover the total cost, depending on the policy. Either way, the expense is worth it: proper parking lot striping not only helps organize the lot but also ensures safety and compliance with legal standards.
Step 2: Surface Cleaning
Before starting any parking striping, you will need to prepare the surface properly. Begin by using an industrial blower to remove debris like leaves and dirt from the parking lot. This clean foundation is needed for the paint to adhere to the surface correctly.
Additionally, seal any cracks to prevent further damage. You can hire contractors for this task, in which case you should expect $1-$3 per square foot. Alternatively, purchase DIY materials from hardware stores like pothole filler and crack sealer. Either way, don’t skimp on this part of the process: proper surface cleaning will help the striping process remain smooth, and the paint lasts longer.

Step 3: Parking Lot Line Striping Begins
Once the surface is clean, you can start the striping process. This step involves using high-quality traffic paint and a line striping machine. New lines usually take a few hours to paint, while touch-ups can be quicker.
Again, be prepared for a learning curve if you’re doing it yourself. Precision is paramount to achieving straight lines and clear markings, and professionals often use specialized equipment with features like laser guides to ensure accuracy. Once again, we suggest an outside team is a better option here.
In terms of drying time, depending on the paint used, the lot should be ready for use within four hours. Plan for potential delays and downtime if you’re tackling a large area.
Choosing the Right Materials and Equipment
As a general rule, start with high-quality traffic paint. Water-based paints are great for indoor parking and dry quickly, while solvent-based paints offer durability for outdoor lots. For areas with high traffic or exposure to oil and gasoline, consider chlorinated rubber paint or thermoplastic paint, which provide extra resistance.
Investing in a good line striping machine can make the job easier and more precise. It may seem like an unwarranted expense, but basic models are quite affordable (although they might lack features like laser guides and spray shields). Renting a high-end machine can be a cost-effective option for larger projects, allowing for professional-level results without the hefty price tag.
Additional tools like brushes, rollers, and stencils are essential for detailed work, ensuring every part of your lot is clearly marked and easy to work around.
How to Maintain Your Parking Lot
After initial striping, inspect the lot occasionally (once each year should do it) for fading lines or damaged areas. Seasonal maintenance, like using eco-friendly deicers in winter, should help protect the paint and surface. If lines start to fade, touch them up quickly to maintain visibility and safety.
Regular assessments will help you determine when it’s time to re-stripe, ensuring the lot remains well-organized and easy to navigate. This is definitely something you need to get into the habit of – you might be surprised how often truck parking lot striping is neglected because of a failure to stay on top of it.
Bottom Line
Clear, well-maintained striping should be an insistent feature of your parking lot. It ensures safety, maximizes space, and provides a professional appearance – all of which are key to running a successful business.
Our recommendation is to hire professionals to do the job. Those lines are extremely difficult to measure and paint accurately, and while it may seem like a simple job, it really isn’t. That said, you should be able to do a decent job yourself if you exercise patience and caution and use the right tools.
Ready to make the most of your property? With Truck Parking Club, you can list your lot and attract more truckers looking for reliable parking. Sign up today and see how easy it is to monetize your space!
The information published herein is for general informational purposes only. Truck Parking Club does not make any representations or warranties about the completeness, reliability, legality, and accuracy of this information. Any reliance placed on such material is strictly at the user’s own risk. Truck Parking Club shall not be responsible for any losses or damages incurred in connection with the information published herein.